I acquired a Mac Mini back in 2011, and since then have stuck to the Apple environment, purchasing two Macbook Pros, and also a Macbook Air for my daughter. I find Apple's operating systems rock solid.
I can't really say how I came at the conclusion that I wanted a Macintosh; it was possibly after seeing one too many YouTube videos about the rise of the personal computer, Apple Computer, minimalism, or what have you. But once I decided on it, I found that there were none for sale in my neck of the woods, so it was off to eBay. Many of the specimens on eBay are quite beat up, non-functional, or priced out of average, instead of going for a first-run US-built specimen, I was willing to get a post-1987 model, as the plastic color was now less yellow or ivory and more white or light gray (I think they called the new color Platinum: I need to go back and check). The SE models have grill-like cutouts in the front, while the Classic line has just one cut in the front which coincides with the floppy drive opening. So it would be either an original Macintosh or a Classic. I happened to win an auction on a Classic II with the plastics in very good condition.
This particular machine was made in December 1992, so it'll turn 31 this year. Upon arrival and inspection, the machine turned on but with the on-screen checkered pattern, a possible sign of capacitor leak. I decided I would clean the motherboard it and retrobrite the case, which was only dirty and with some slight yellowing.
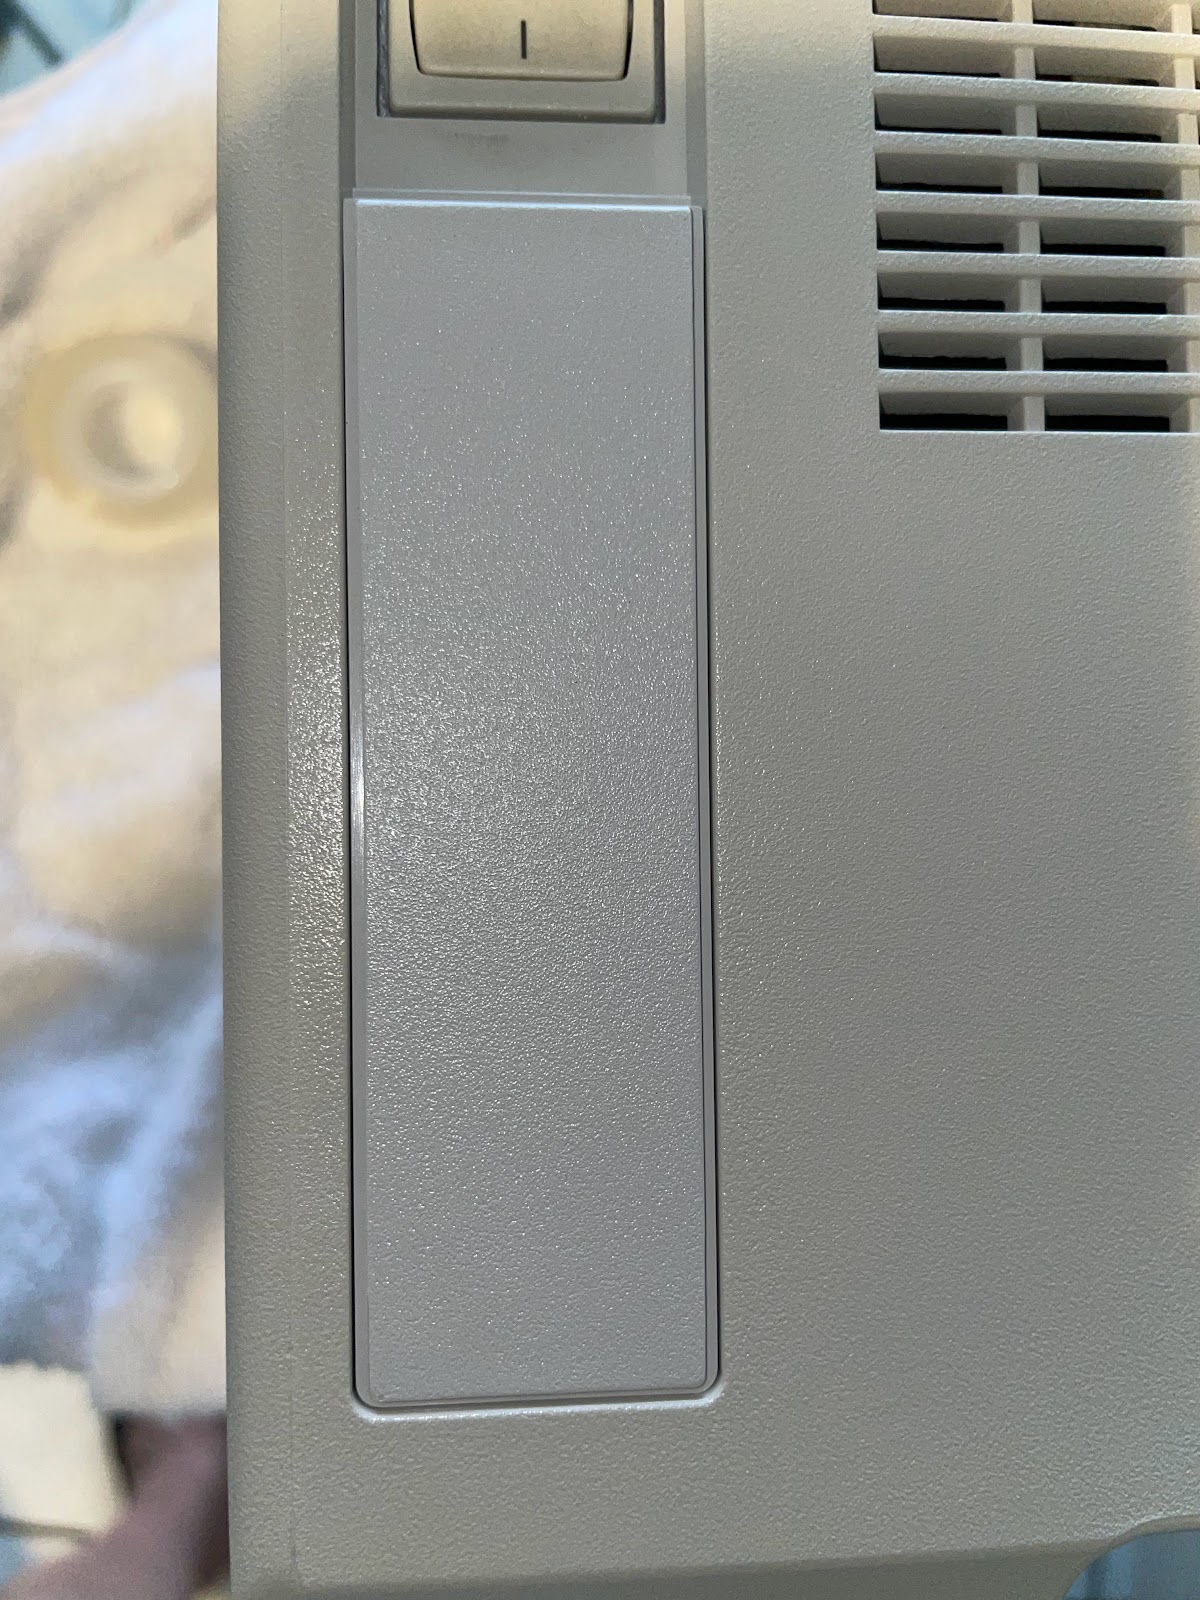
The case still has the cover for the battery that saves the time and date, although the battery was moved to the motherboard (even more dangerous if the battery leaks!). I took the cover off, dipped it in hydrogen peroxide, and let it sit out in the sun. After two mid-days of sun, the cover was dried and put back into place for comparison, and the results are noticeable. I proceeded to disassemble the machine to see the motherboard's condition and clean it, and retrobrite the case.
I used a long Torx T15 screwdriver (emphasis on long to reach the two screws inside the carry handle; the shaft has to be at least 4.5 inches long to reach the screws) and carefully pried the case loose to avoid breaking the various holding clips, especially those on the top of the case. I discharged the monitor (death risk here if you don't do it; please search for the topic!) and started disassembly.
The board had traces of leaks everywhere, as there are capacitors in serval places. As a matter of fact, during inspection one of the capacitors actually fell off (C21). That would put a dent in the process, as I would have to search for either a cap replacement service or another motherboard. This, however, would not interfere with the retrobrite process.
I went to a Sally Beauty Supply and purchased a large bottle of Salon Care Professional 40 Volume Clear; make sure it is the liquid version to make the mixing process easy. The lady was not impressed with the proposed use; I guess she thought I didn't want to admit I was going to mess up my hair! I also went to Ikea to purchase a clear container in which I would dunk the case, front, and battery cover. Note: I dunked the case and the front on separate sessions to ensure they both had a chance of maximum sunlight exposure. Needless to say, the results were impressive.
I found a seller on eBay that put up a Classic II motherboard for sale, described as working. The pictures showed everything was there, so I bought it. A couple of days later, the mailman shows up with the goods, and upon inspection this board is light years ahead of the one installed.
I installed the memory, all 8MBs of it, and as they say, assembly is the reverse of disassembly.
I was curious to see if the hard drive still worked. The fact that it is branded IBM was not lost on me. Plus, the warranty wasn't voided as the stickers are intact.
After assembly I hoped for the best and turned the machine on. Initially I just got the gray screen for several seconds; I hit the rest button on the lower left side, and after a few more seconds, I got a happy Mac face!
Even more surprising was when I got to the desktop itself! The hard drive still works and has the operating system installed!
I call this a success. I installed the case back, and for the time being put it on display.
I might go the extra mile and try to hook it up to the Internet as some people have done with theirs. Stay tuned for results.


